Easy DIY crafts for home décor you can make
Handmade homewares you can make on lockdown
Crafting is a great way to pass the time, so we’ve compiled a list of DIY projects that you can do without stepping a foot outside your front door. If you’re looking to spruce up your space with a few handmade homewares or get creative with the kids, we’ve got you covered. Click or scroll for more...
Recycled tin can lanterns
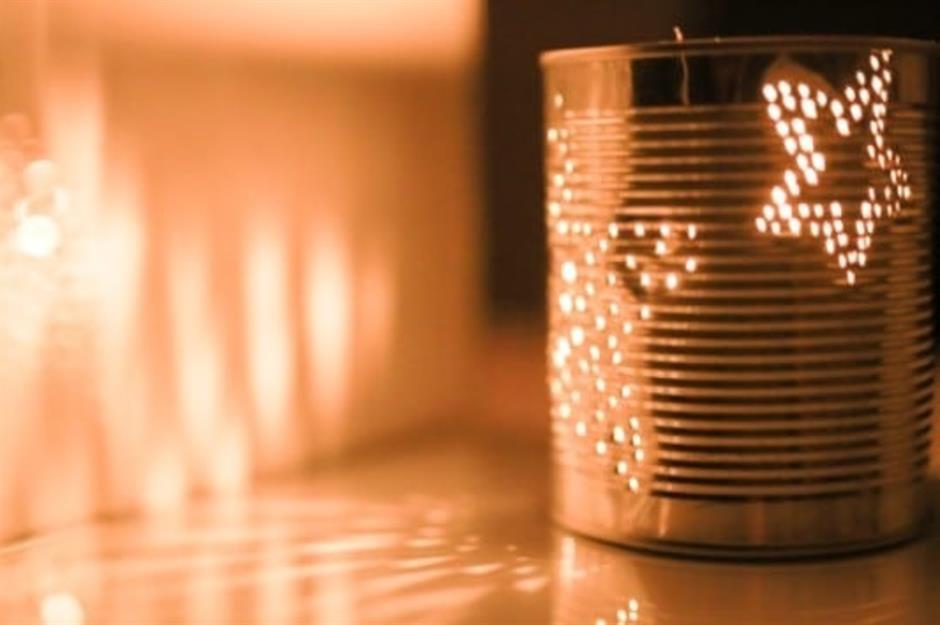
These lanterns by Vanessa Beaty are a great way to reuse tins; just use a hammer and nail to create your chosen design before setting them out on the patio or windowsill. A word of warning: make sure you secure the tin in place before going at it with the hammer – an injury is the last thing any of us need right now!
Boho rag rug
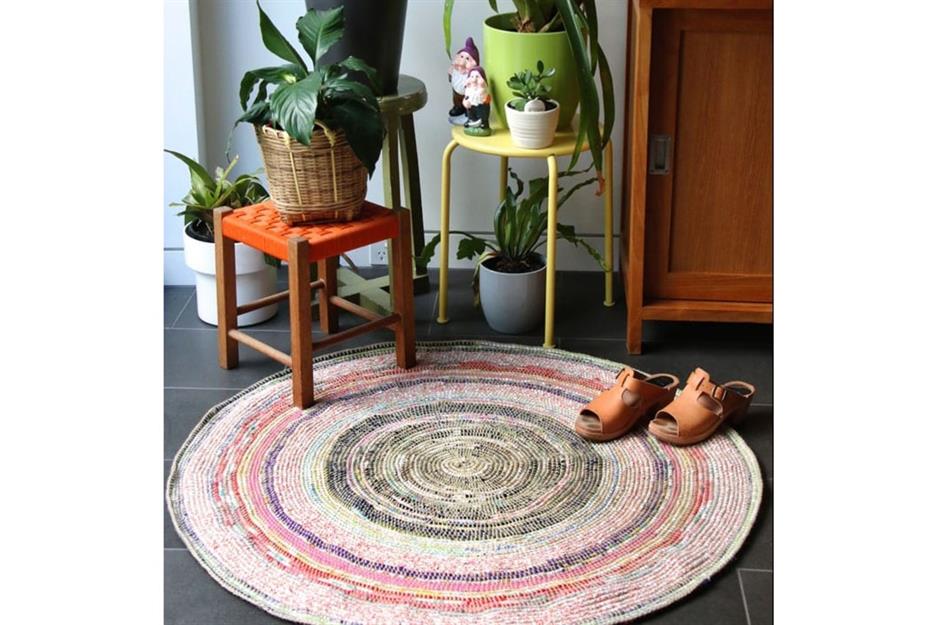
If you’re looking for a project that you can work on over a long weekend, this rag rug is a great option. Old clothes that are not suitable for donation and offcuts from rolls of fabric can be given a new lease of life as a practical and colourful home furnishing. You will need to know how to single crochet, but Cintia of My Poppet Makes carefully explains every stage of the process.
Reusable beeswax food wraps
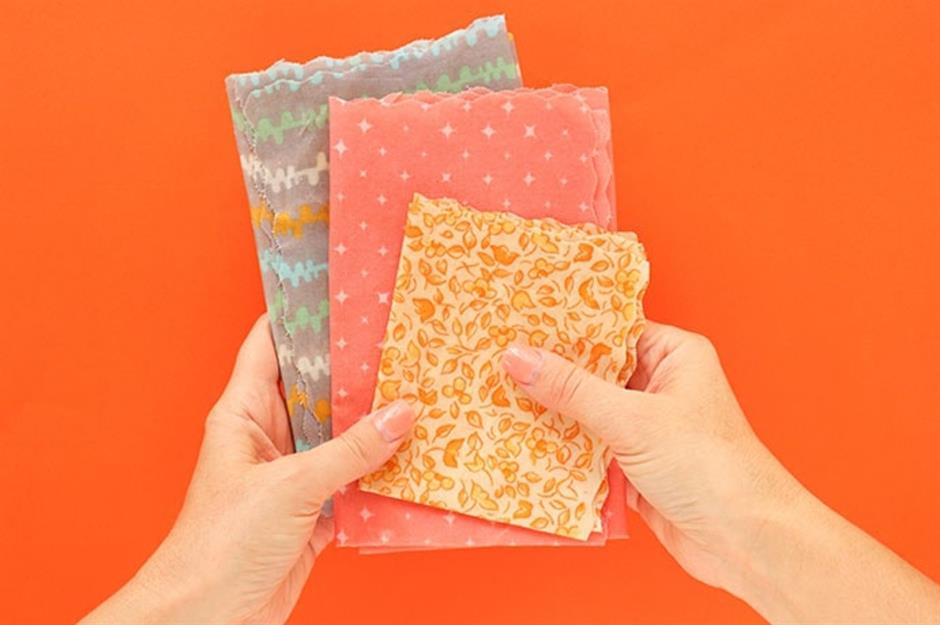
Looking to make some eco-friendly swaps during the lockdown? Beeswax food wraps are a great alternative to plastic wrap and foil as they can be reused time and again. All you’ll need for this project by My Poppet Makes is some heavy-weave cotton fabric and some beeswax (both the blocks and pellets can be purchased from a range of online stores). Not only are they environmentally friendly, they look great too!
Origami paper lampshade
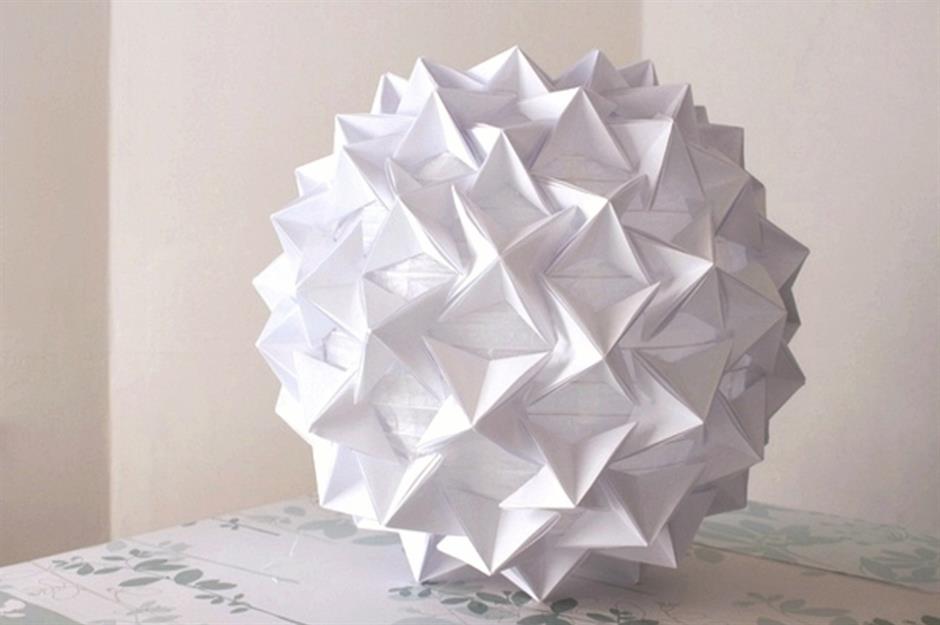
If you have a lot of time on your hands over the weekend, meticulously folding 90 paper stars is one way you can make a dent in it. This clever design by Eleanna Kotsikou does require a hot glue gun but once you’ve invested, the tool can be used for a multitude of different crafting projects. Try switching the plain paper for one-sided coloured sheets to create a vivid glowing centrepiece.
Naturally dyed Easter eggs
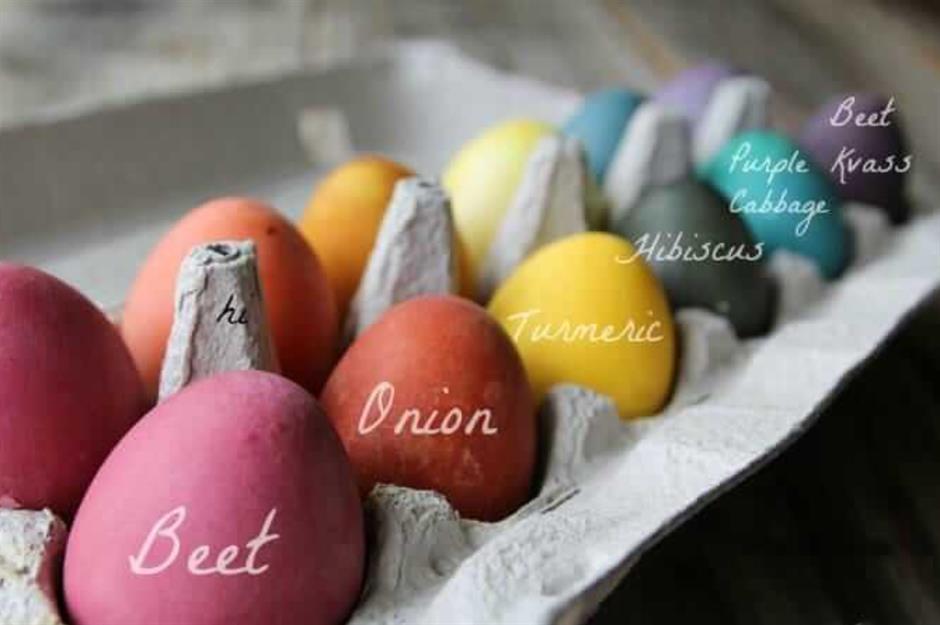
Why not get back to basics and brighten up your home with this quirky homemade decoration. This detailed post by Heather Dessinger of Mommypotamus explains how to dye eggs using all-natural ingredients, producing a variety of warm and vibrant colours. While Heather has chosen to hard-boil the eggs, you can also blow them so that they can be reused in years to come.
Marbled clay pots
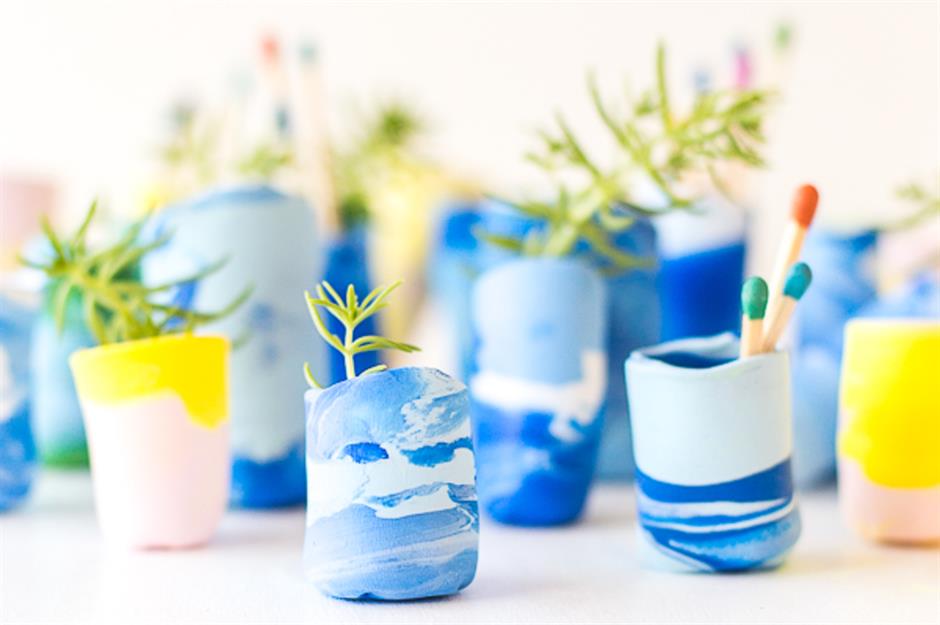
These cute little pots by Paper & Stitch can be made using oven bake or air dry clay. They’re perfect for holding jewellery, stationery or plant cuttings and feature an on-trend marble design. All the necessary materials can be easily purchased online and are child friendly.
Sculptural string fruit bowls
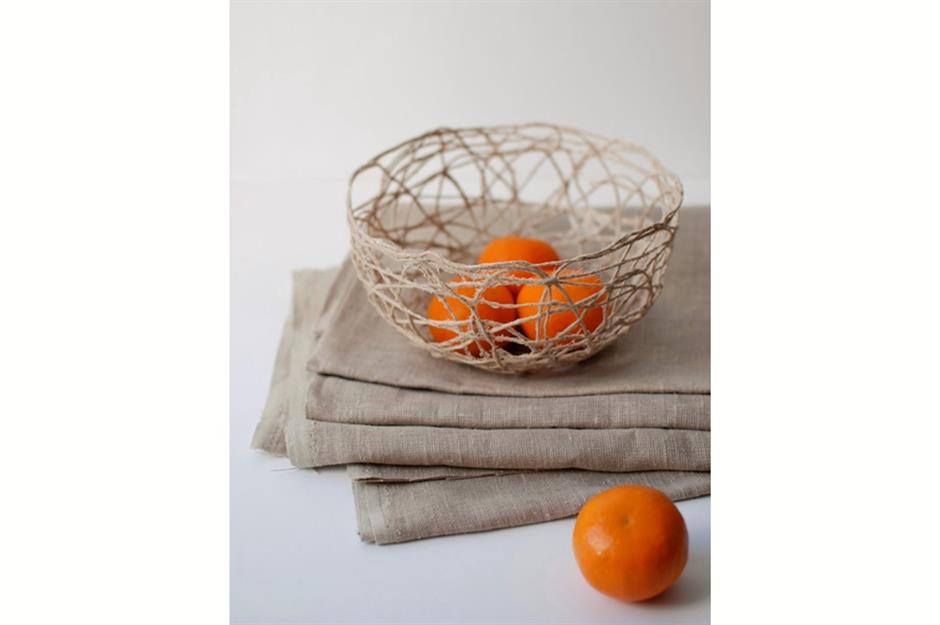
These string bowls by crafter Lisa Tilse have a lovely organic feel and are incredibly easy to make. To start, cut around 12 long pieces of twine and coat well in fabric stiffener. Mould around a bowl covered in plastic wrap and leave to dry for a day. You could also experiment with coloured string or different thicknesses of twine for a new take on the design.
Pressed flower artwork
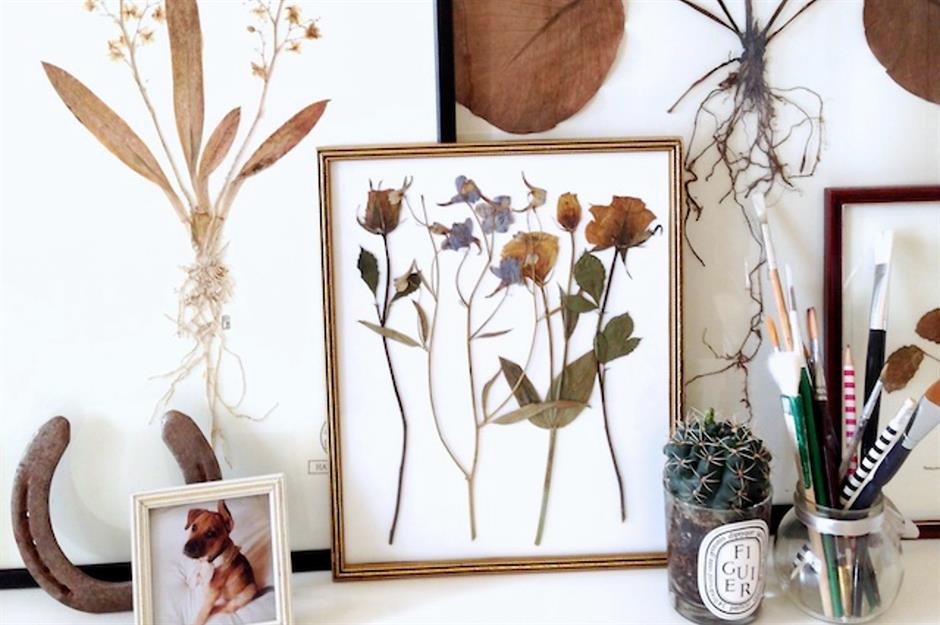
Pressing botanicals is a great activity to do with kids or on your own. Even if you don’t have a garden, you’re sure to find some leaves or flowers you’re allowed to pick at the local park. Bear in mind that plants will take up to a month to fully dry but hey, it’s not like any of us are short on time right now! Gemma shows how you can frame your pressed botanicals, but you can also use them to create some beautiful pieces of artwork or to decorate books and boxes.
Crocheted tutti frutti potholders
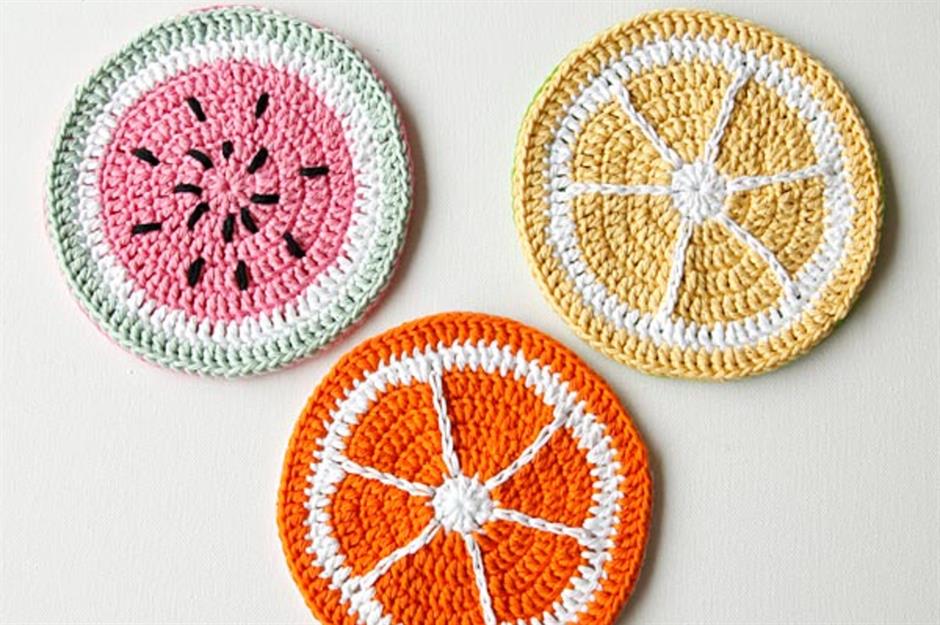
If you’re a crochet novice, it’s quite hard to go wrong with these cheerful fruit-themed potholders. You will need to know how to form a couple of different crochet stitches, but this tutorial by Wink contains links with simple instructions on how to get started. Once you’ve mastered this project, the world of crochet is your oyster!
Macramé plant hangers

Who knew that macramé would make a comeback in such a big way? If you’re new to the knotting craze, this plant hanger by Sarah Preston of TOMFO is pretty simple to make and the perfect introductory project. You can use a range of different types of cord; just make sure your chosen yarn is strong enough to support the weight of your chosen hardy houseplant pot or terrarium.
Shell candles
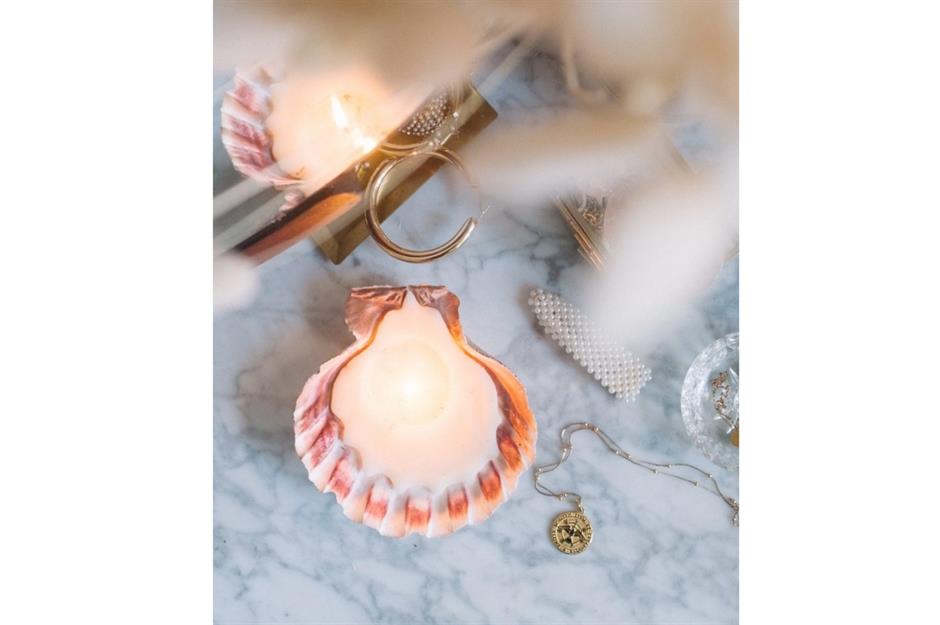
Many of us have shells collected from past seaside holidays that we don’t really know what to do with. This is a great way of turning them into a decorative and functional home accessory. You will need wicks and some type of wax (soy wax is the most ecological option) for this tutorial by craft queen Geneva Vanderzeil, but these can be easily found online. If you don't have any shells at home a coconut shell makes a great alternative.
Framed crayon artwork
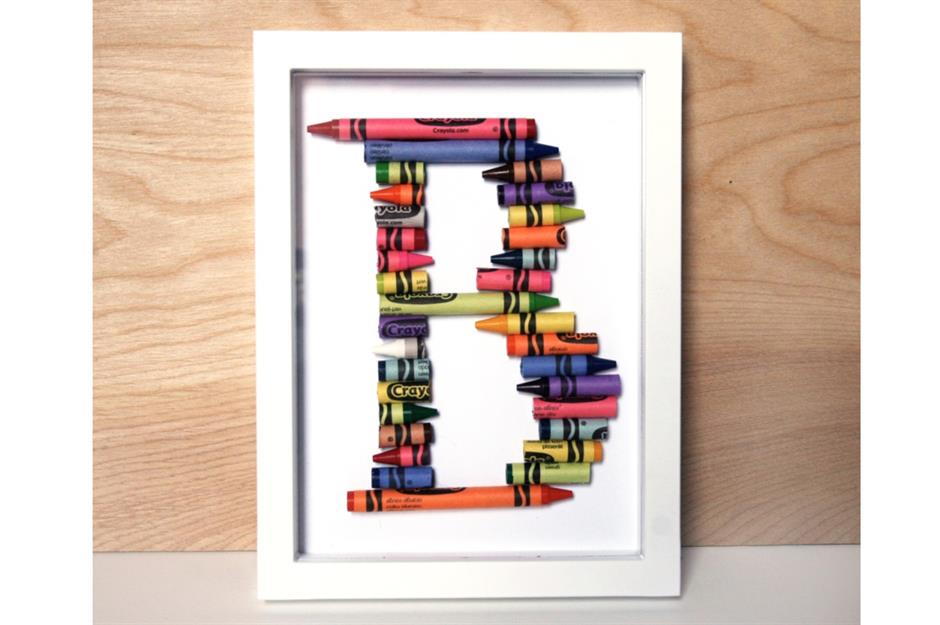
Got a box of crayon nubs lying around that are too short to make effective drawing implements? These alphabet shadow boxes by Allison of the 3 R's blog offers the perfect solution and make a fun addition to a gender-neutral nursery or playroom. For a cleaner look, use a sharp knife to cut each crayon to size before you get crafting.
Travel memory boxes
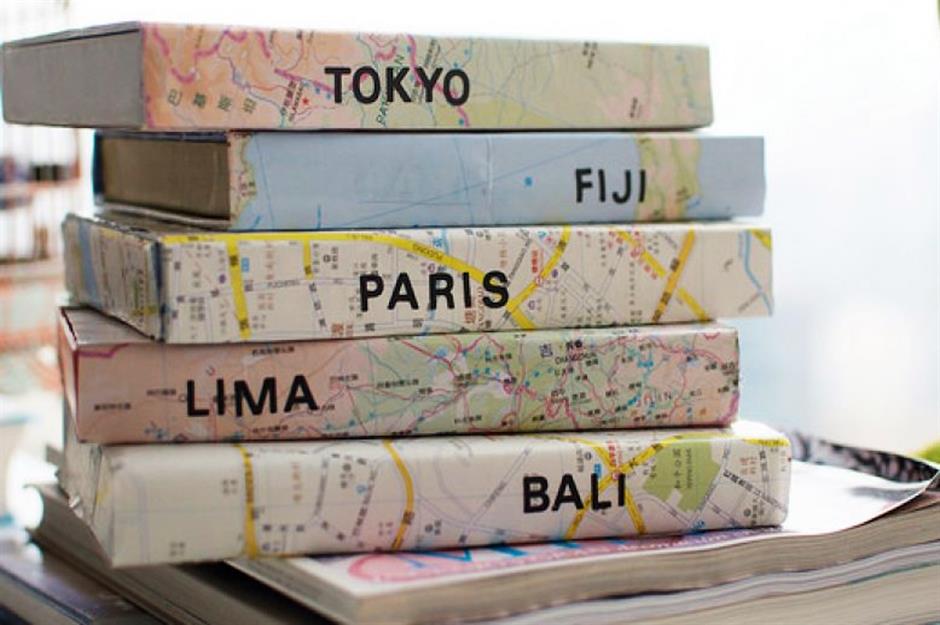
Foreign travel is a little unfeasible in the current climate so take the opportunity to reminisce about past trips instead. This storage hack DIY by Geneva Vanderzeil uses old DVD cases to create memory boxes, which can be filled with photos, postcards and little mementos from your travels. Maps are ideal for covering the boxes, but you could also make a collage of different tickets, receipts and stamps instead.
Braided plastic bag baskets
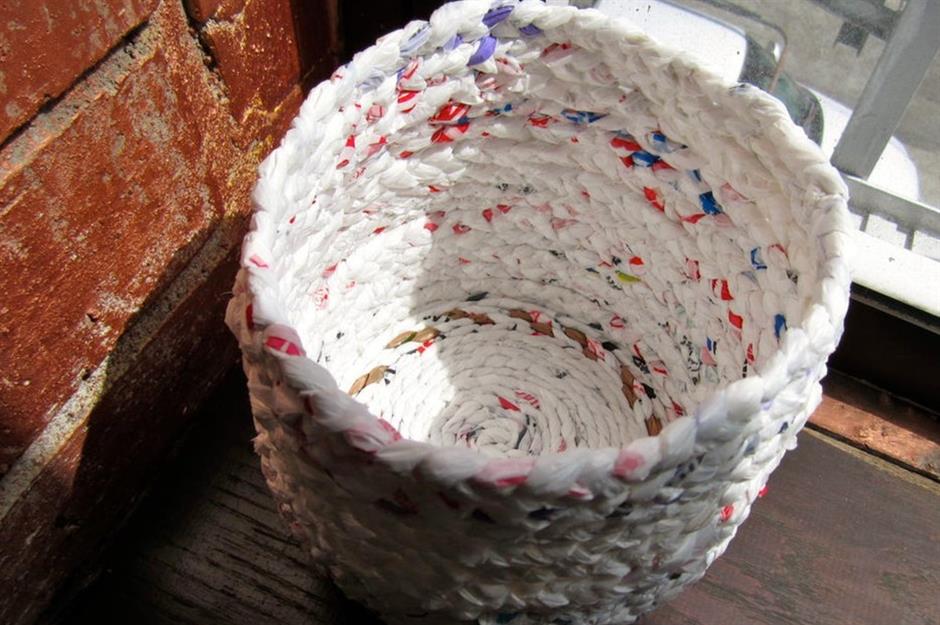
In many cases, the pandemic necessitates the use of more single-use plastic, but that doesn’t have to mean more waste. If you’ve got a surplus of plastic bags, this tutorial by jessyratfink will show you how to upcycle them and create a useful braided basket. This project does require a bit more time and effort but all you’ll need is a few bags and a needle and thread.
Recycled wine bottle pendant lights
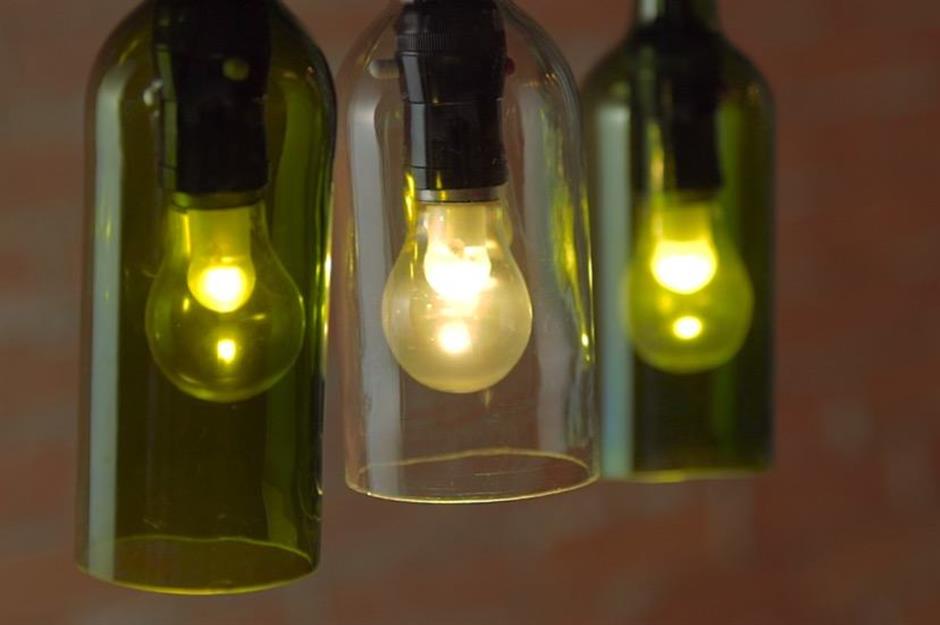
If you have the odd bottle lying around, this a great way to repurpose them to make some seriously stylish lighting. You will need acetone (nail varnish or spray paint remover) and a pendant light kit, both of which can be found online. This project by Lauren J of DIY Projects is slightly more technically challenging but offers stunning results, particularly when combined with retro filament bulbs.
Nail and yarn wall art

This project by Jen Loves Kev is low-cost, high-impact way to transform any blank wall in your home. Most people will already have all the necessary materials at hand: a handful of tacks, a couple of balls of yarn and a hammer. Top tip: use a spirit level when mapping out the design to ensure your letters are in line.
Teacup bird feeders
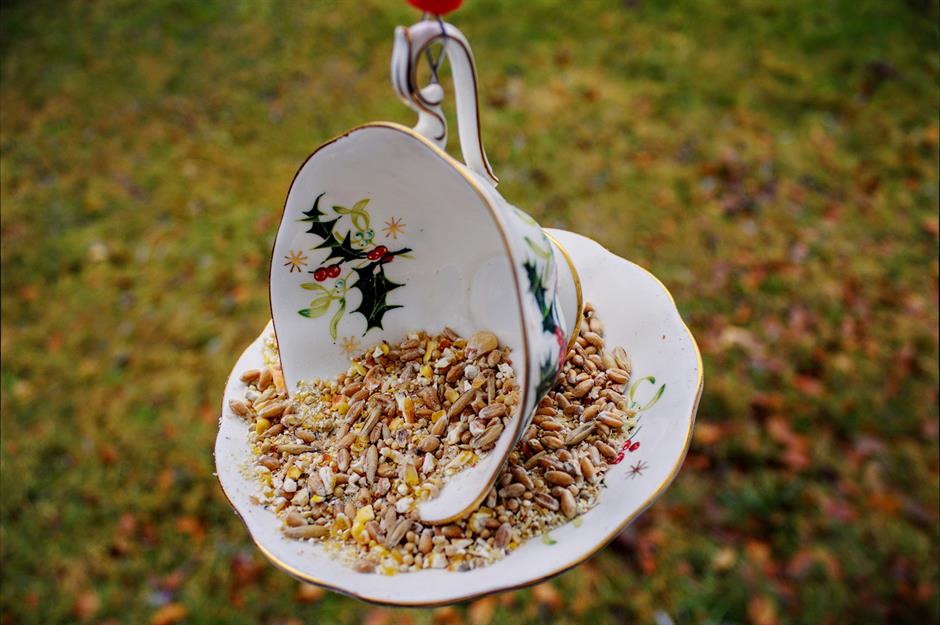
Whether you have a small garden or a balcony, this charming teacup feeder will encourage birds to flock to your home. This is a great way of making the most of mismatched china; in addition, you'll just need super glue and string for this charming project. Why not hang several from a wooden pallet, for the ultimate upcycle.
Macramé grocery bags
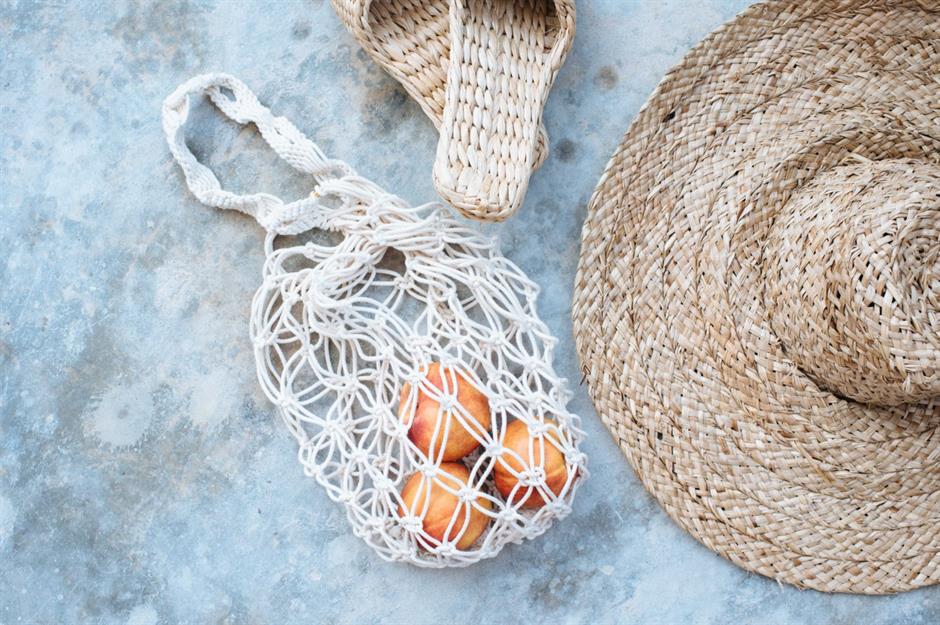
If you’re popping down the shops for a few essential groceries, this net bag is the perfect accessory. You’ll need some cotton macramé cord and two gold jump rings, both of which can be purchased online. The design may look a little complicated, but there's a guide on Collective Gen's blog that has great step-by-step instructions.
Moulded vinyl bowls
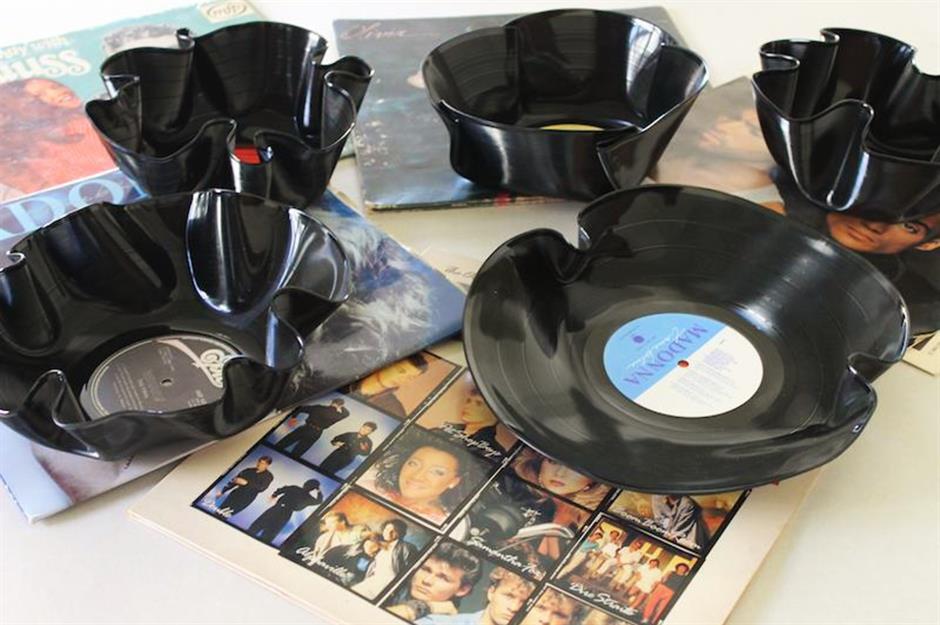
Got a collection of cheesy ‘80s ballads that are gathering dust in your cupboard? Rework them into a collection of quirky bowls and catchalls by following this simple DIY by Judy of Upcycle That. If the idea of destroying perfectly good vinyl doesn’t sit well with you, this is also a great way of repurposing those records that are scratched or damaged beyond repair.
Origami crane mobiles
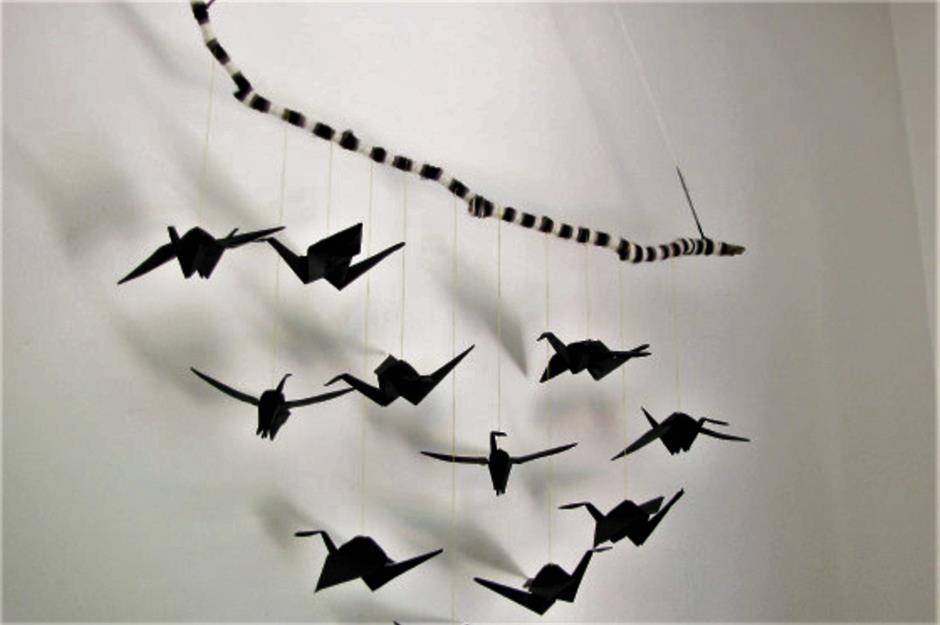
This project by TOMFO shouldn’t require you to purchase any additional materials; all you need is paper, string and a stick. In many East Asian cultures, cranes are a symbol of good fortune – definitely something we could all do with right now! You could also try using coloured paper and string or intersecting two sticks at right angles.
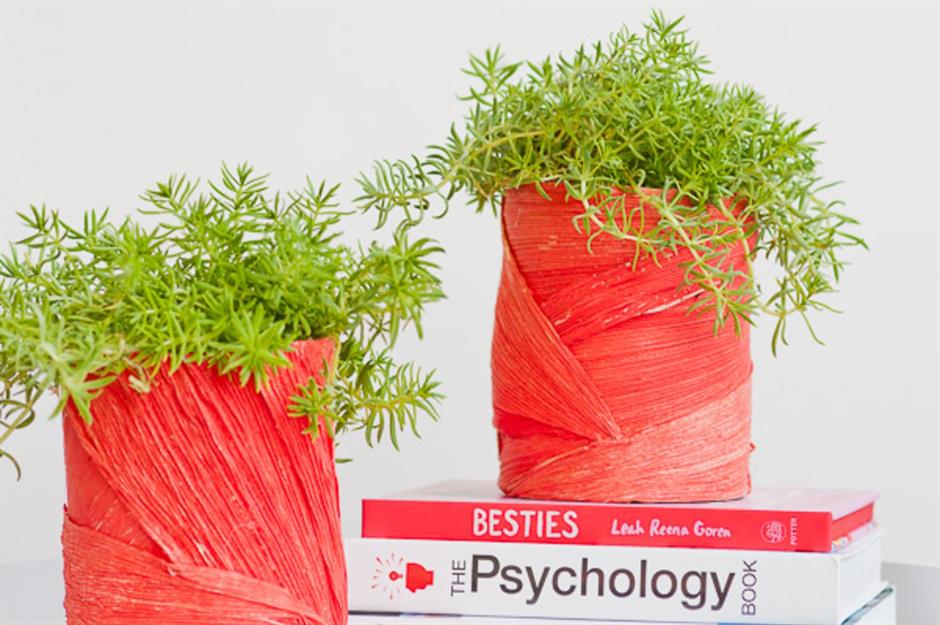
Corn husk planters
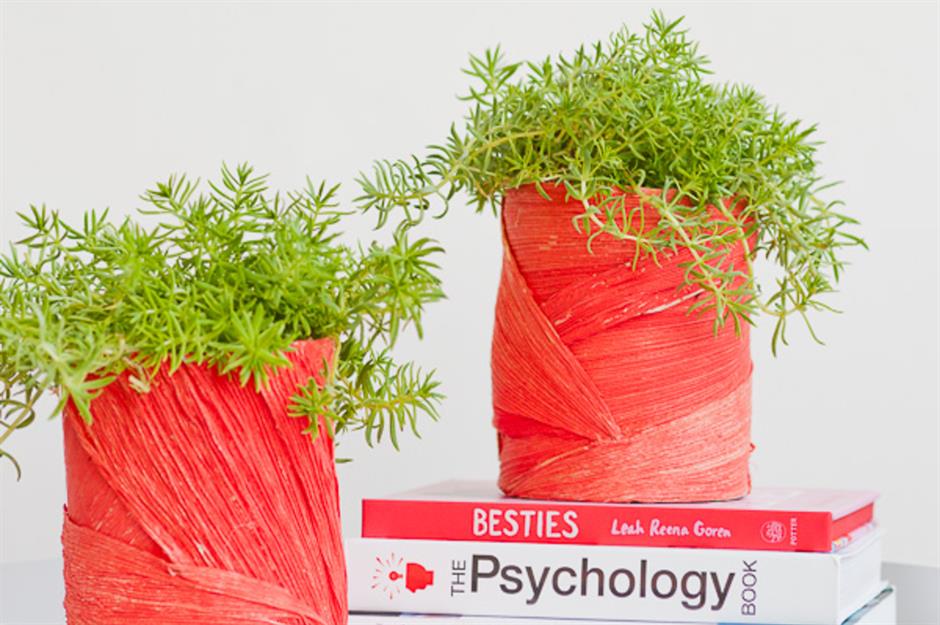
These vibrant planters by Paper & Stitch will add a pop of colour to your home and are ideal for herbs, seedlings or succulents. Simply wash out a tin can, wrap and glue the corn husks around it, then finish with a layer of acrylic paint. As maize generally isn’t harvested until autumn, you could replace the husks with any kind of dried palm leaf instead.
Vintage fairy light shades
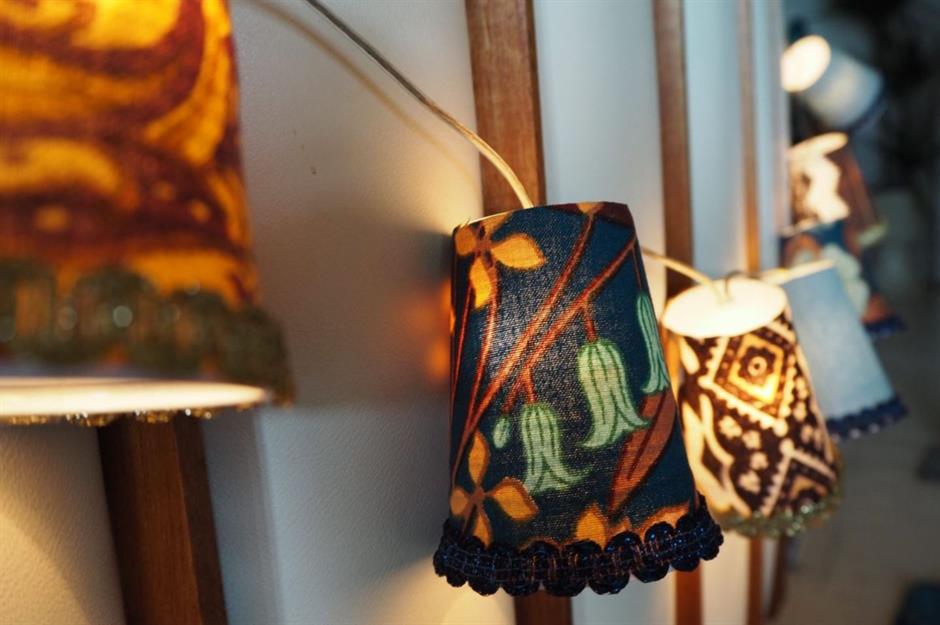
If you have fabric offcuts left over from other craft projects, this tutorial by Kate Beavis is a great way to use them up. The lampshades are made from standard plastic cups covered in material and decorated with lengths of braid. If you don’t have any plastic cups at home already, you could also use washed-out yoghurt pots to avoid purchasing more plastic.
Hanging photo displays
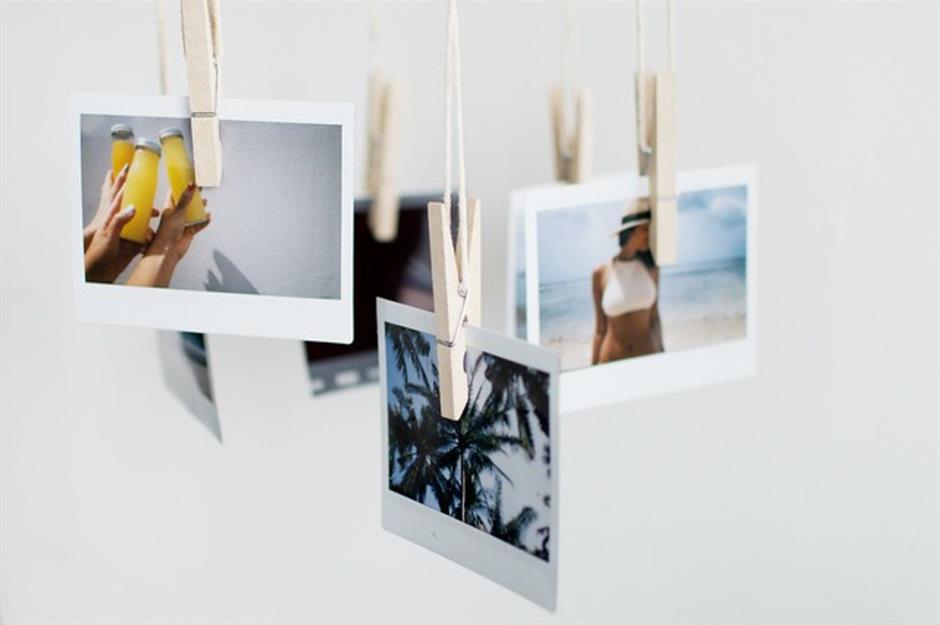
Keep your loved ones in your thoughts with a photo display. Another great project from Collective Gen, this project utilises a number of everyday household items and is easy to assemble in an afternoon. If you’re struggling with the state of the world right now, this is one activity that is guaranteed to cheer you up.
Shibori bed linen
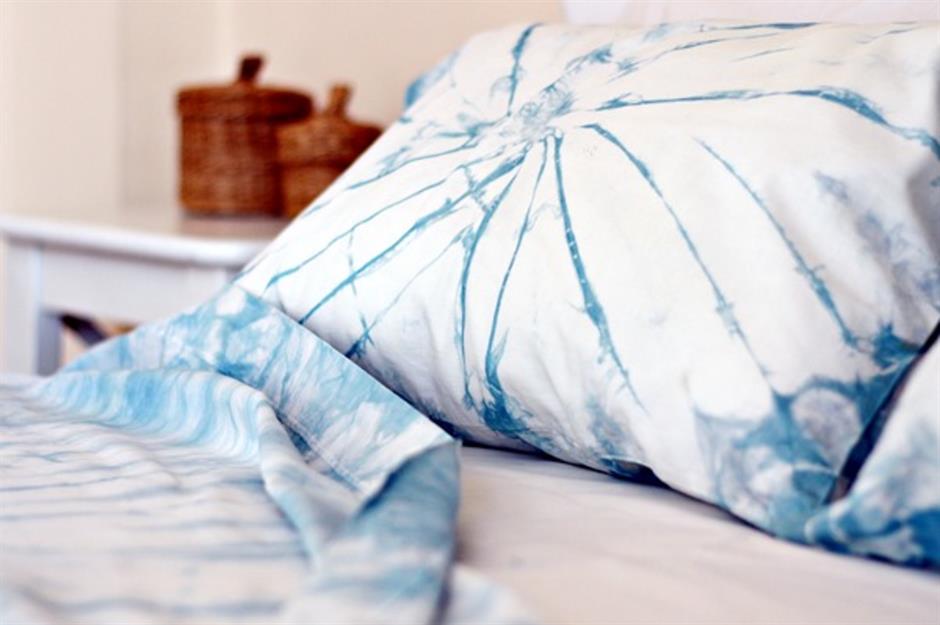
Create a beautiful bedroom with shibori or tie-dye techniques. It's a great way to embellish plain textiles and is sure to be a hit with children and teenagers alike. The traditional indigo dye is easy to find online as well as a range of more vibrant hues. Simply gather and bind your fabric, dunk in the vat of dye, rinse and voilà your shibori transformation is complete. For a step-by-step guide, see the full tutorial by Eleanna Kotsikou.
Comments
Be the first to comment
Do you want to comment on this article? You need to be signed in for this feature